Learning how to make resin tumblers is a valuable talent, regardless of whether you want to use them for your purposes or create them for sale as part of a resin business.
In the article for this week, we will demonstrate how to manufacture personalized tumblers that are enjoyable to build, no matter how long you have been working with resin or how recently you have begun doing so. While building your tumblers, you will be instructed in the usual techniques, but after that, you are free to let your creativity run wild.

Let's start by discussing the food-safe characteristics of Craft Resin because the recommendations for other goods can be different.
After it has been fully cured and hardened, craft resin can be utilized as a food contact surface. Craft Resin was subjected to rigorous testing for leaching and migration in accordance with international standards, which it excelled and received a passing grade for. Food that comes into contact with fully cured Craft Resin that has been used in the manner described will not absorb any of the chemicals in the resin.
Reviewing the appropriate portions of our Safety Data Sheet and Technical Information publications, you can confirm that Craft Resin does not contain any BPA.
Since resin tumblers are made by molding resin around an element called a tumble cup, the liquid within the Tumbler won't come into extended contact with the resin. However, your lips will probably contact the glass's rim while sipping from a tumbler without a straw. If you should continue with this project, you can rest assured that there are no dangers associated with using craft resin in this way.

Metal cups are preferable to plastic cups as an insert in casting because of their greater capacity to make a firm bond with resin. Invest in an insulated model of the Tumbler if you plan on using it for hot liquids. This will prevent the outer resin from breaking down from the drinks' heat over time.
An essential step in prepping your tumble cups for resin use is sanding the top layer, allowing the resin to attach to it. Sandpaper with a grain size between 400 and 600 is suitable for this task. The tumbler cups should be washed after sanding to eliminate any fine sanding dust that may have gotten stuck in them. After washing, the tumbler cups must be dried thoroughly before being used again.
It is possible to block off areas of the tumbler cup where you do not want the resin to flow by using a tape such as Frogtape to accomplish so. One example of this would be the area directly inside the top lip. Once the glue has hardened, any more resin that may have developed there may be scraped out of the way simply.
As a last step in preparing your tumblers, it is a good idea to apply a layer of spray paint to the exterior of the tumblers; however, you will need to use spray paint that adheres to metal to do so. Before applying resin on top of the paint, you must wait until it completely dries. You must do this first to color the Tumbler behind the clear epoxy resin covering. If you are dealing with colored resin, you may skip this step if you so want.
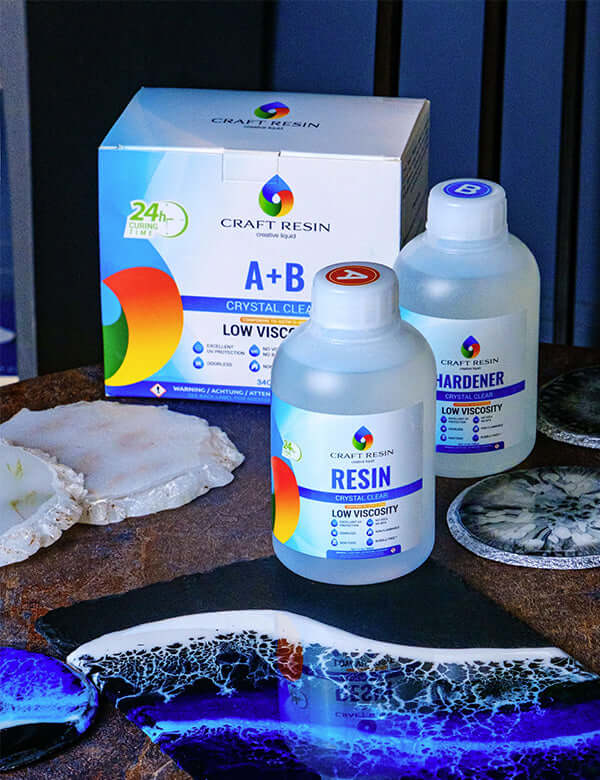
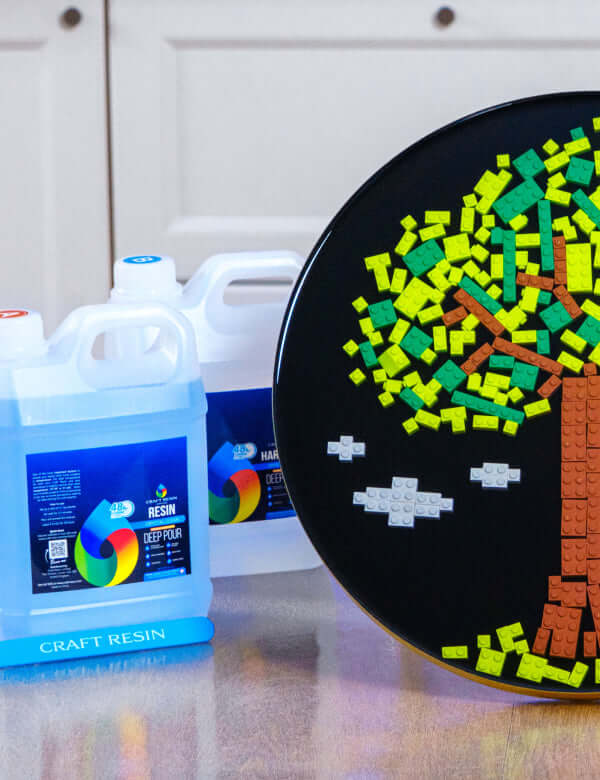
To start resining your cup, you must first prepare the epoxy resin for crafts. Because coating tumblers in resin do not call for enormous amounts of resin, our standard low-viscosity resin may be used for this operation, even if you only produce one or two tumblers at a time. If you want to make many tumblers and mix a lot of resin at once, our Deep Pour resin is the perfect choice. You must remember that our Deep Pour resin's curing time is longer than our ordinary resin's and that you must keep your cups spinning longer. Please keep these things in mind.
Please refer to the instructions in your kit to correctly measure, mix, and pour our standard or Deep Pour resin. These steps should be followed in order.
To ensure that the resin cures properly around the cups of a tumbler made of resin, it is necessary to rotate the cups at regular intervals while the Tumbler is manufactured. If you pour the resin directly on the cups while they sit still, it will not be spread uniformly throughout them. It is possible to accomplish this by hand, but doing so will be laborious and time-consuming. Investing in a Tumbler cup turner that automatically rotates the cups is a good use of time. Follow the instructions with the tumbler cup turner you purchase, and ensure that your workstation is adequately protected if some resin does spill below the cups, as the instructions will instruct you to do. Amazon and other internet shops have handy numbers of tumbler cup turners for their customers to purchase.

You can turn on the turner once you have inserted a cup. After it's been passed to you, carefully pour the resin mixture into the cup. You can always add more, but it won't be easy to control if you pour too much at once. If you add more, you can always add more.
While the cup is spinning, use your gloved hands to spread the resin around it so it is uniformly distributed. Because the resin is so extraordinarily sticky and can be challenging to remove from surfaces such as tables and carpets, you should exercise extreme caution in the vicinity of this region.
When designing tumblers, using relatively little resin and gradually adding more layers until you get the color and pattern you want is best.
After painting the first layer of resin onto the Tumbler, you will find it much simpler to apply decorations such as glitter while spinning. Have fun and try out a variety of various techniques to design your tumblers. You might want to get the feel of it by beginning with something straightforward, but as you gain experience, you'll discover that the opportunities for personalization expand.

If you choose to decorate your cup with elements such as glitter, you must ensure that an additional layer of resin is poured on top so the glitter is entirely encased. The resin will protect the glitter, preventing it from being washed out of the cups. After three to five hours, repeat the process of applying turpentine to the inside of your cups in the same manner as before. You are free to repeat this process as many times as you choose, but remember that your Tumbler will become significantly more awkward to use as additional layers are added.
If you must wait more than five hours between coats, let the previous coat dry fully before sanding it down, cleaning off the sanding dust, and applying the next coating to your cup. This is especially important if you must wait longer than five hours between applications. Sanding must be done between each application layer of many layers to create a firm connection between the layers.
When curing resin, it is best to do it in a space that has been heated to between 21 and 24 degrees Celsius (70 and 75 degrees Fahrenheit). Maintaining this temperature will help you prevent any issues with the resin throughout the first 24 hours of the curing process (or 48 hours if you are using Deep Pour).
If you pour some resin into a cup and within the first couple of hours you see any bubbles growing in the resin, you can use a heat torch to burst the bubbles. It is possible to keep from over-torching your work by moving the heat torch in a circular motion over the entire product; the bubbles should burst immediately in front of your eyes.

If you use our ordinary resin, it will take 24 hours to cure, but if you use our Deep Pour resin, it will take 48 hours. If you have any questions about our resins, please don't hesitate to contact us. In case you do not choose to do so, you are not required to continue spinning your cup for the length of this time. If you do not wish to, you are free to stop. It is only necessary to spin it for a sufficient period for your resin to harden to the point where it will no longer move after being solidified by the turning. If you use our normal resin, letting it dry for eight to ten hours before turning it should be adequate. However, if you are using our Deep Pour resin, you must allow additional time.
If you attach the frog tape to the inner lip of your cup, you can remove it from the cup when the curing process is complete (after either 24 or 48 hours). Only a small quantity of resin has accumulated onto the tape, and you can remove it without much of a struggle if you peel it off. If the resin has gotten onto it and set, it may be more difficult to remove; thus, you may need to gently reheat the resin on the taped lip using a hair dryer to soften it and simplify removal. Removing resin may be more difficult if it has gotten onto it and hardened. Take extreme caution not to leave the heat on the entire cup, as doing so can cause all of the resin on the cup to become softer, leading to issues.
If you did not use tape on the inner lip of the cup, but resin did get inside the cup, it is simple to remove the resin. However, if you did use tape on the inside lip of the cup, it is not necessary to use tape. The epoxy won't adhere to the interior of the metal cup. Thus, the cup won't be able to hold it. Because of this, you should be able to employ a tool such as a Stanley knife to delicately remove this from the inside lip of the metal cup.
You may use sandpaper to smooth any rough edges still on the lip of the cup; however, you should be careful not to sand too much at this point. If any jagged edges remain, you can use sandpaper to remove them. Clean your cups as soon as you have restored the area around the lip to its original smooth state. After you have finished cleaning your cups, they are ready to have their lids affixed, at which time they are ready to be used.

Under no circumstances should you ever clean your tumbler cups in the dishwasher since the high temperatures found within might deform and ruin the project. We ask that you kindly comply with our request. When washing your glasses, use warm but not boiling water and some dish soap, and thoroughly clean each one. Never expose resin to strong chemicals since doing so might cause the products made of resin to lose their brilliance over time. Resin should never be exposed to strong chemicals. If you plan to sell them tumblers, you must constantly supply this information for your customers.
If you do wind up utilizing Craft Resin to create your resin tumblers, we would appreciate it if you could send them our way so we can look at them. Please go to our Instagram page and tag us in any photographs or stories you present your efforts.
@craft.resin
Topic Of The Week Giveaway:
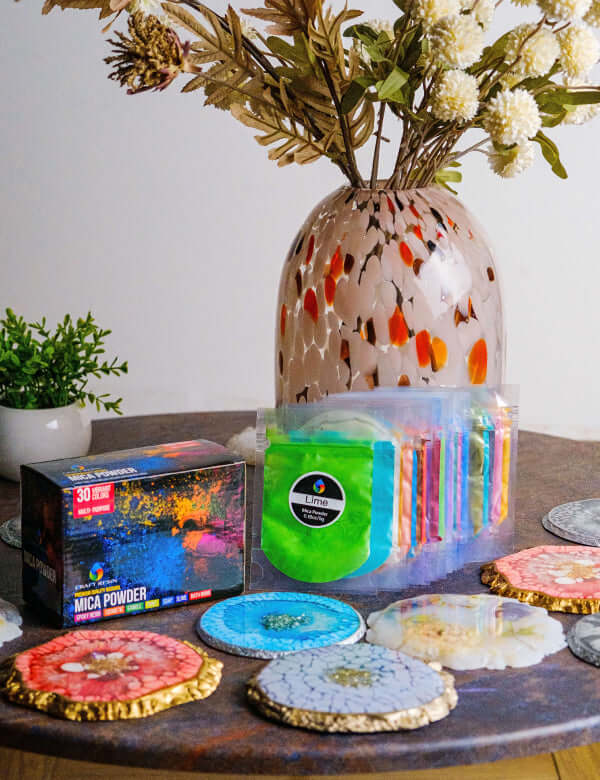
We have attached a giveaway to this Topic Of The Week announcement on our Instagram platform; this is helping us to spread the knowledge of how to use epoxy resin art starter kit further, but also enabling anyone who helps us to share this information to win free resin and mica powders.

To enter the weekly giveaway, please see the latest post pinned to the top of our Instagram feed and follow the instructions to enter:
Team Craft Resin

