


We’ve talked about molds before, but only in relation to what molds to use for different projects. In this weeks blog we wanted to cover the subject of how to get the most out of your molds and how to get them to last longer too.
We’ll be covering how to look after them, how to prepare them for use and also how to clean and store them after use.
Molds won’t unfortunately last forever, but if you do purchase a good one and look after it following the guidance below, you’ll have every chance to make it last a long time.
If you do notice changes in your resin work over time, and you haven’t changed any of the techniques, or brands of resin, we would suggest looking closely at your molds and seeing if they could be the cause of the undesirable results. Usually your resin work will tell you when a mold is no longer useable.
The guidance in this blog will relate to silicone molds, but some of the tips can be great for other molds too.
How to prepare your molds:
Some people use alcohol mist/spray to coat their molds prior to using them, this enables them to reduce the chance of bubbles appearing on the mold side of the project. Of course bubbles can be dispersed by a heat gun on the top, but not underneath when in the mold, so this can be good for that task if you do find yourself getting bubbles under your project.
Usually with Craft Resin the simple act of warming your resin will help bubbles disperse anyway and so you may not actually need to do this step. If you do chose to use alcohol mist/spray on your molds be very careful making sure that there is lots of ventilation in your room and also that you are wearing a mask/respirator.
Note: Be very careful if you do go near your molds with any flames after spraying alchohol mist/spray on your molds, as it can set alight and catch fire!
We would suggest trying it without this step at the start and seeing if you can work without it if at all possible.
What you can spray onto your molds before pouring in your resin is a silicon release spray, spray it onto the molds lightly and then leave it for about a minute before pouring your resin. This will help when the resin is cured and you are demolding, the resin will release much easier when this technique is used.
How to clean your molds:
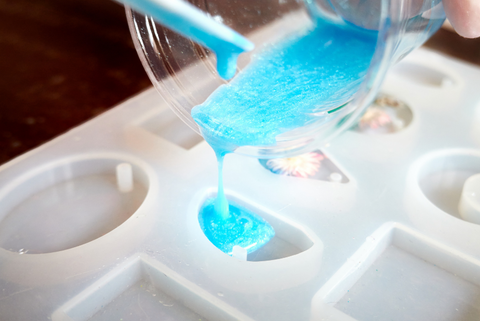
When you have poured your resin you will probably find that you do get some of the resin in places around your molds, do not worry if this does happen because it can be removed after the curing stage very easily, especially with silicone molds.
Once you have removed your resin project from the mold you’re going to need to clean your mold as soon as possible. You might be able to remove some or the resin, by gently peeling it with your hands or wiping off with something gentle like baby wipes to get the initial resin off the molds.
If there are any stubborn bits of resin left in the mold that you can’t remove easily then you might want to try soak the mold in hot water, not boiling, enough that it will turn the resin back into a liquid and you’ll be able to easily remove it.
An alternative to this is to put the mold in the freezer for about 10-15 minutes and this then helps the resin to come out easier without damaging the mold in any way.
When cleaning your mold you should stay away from using alcohol, this can damage your mold and degrade the mold quicker than it normally would. It can also dull your mold, meaning that it takes the shine out of your resin projects. If you notice this happening, there is no way to reverse this, you will need to consider purchasing a new mold - Sorry!
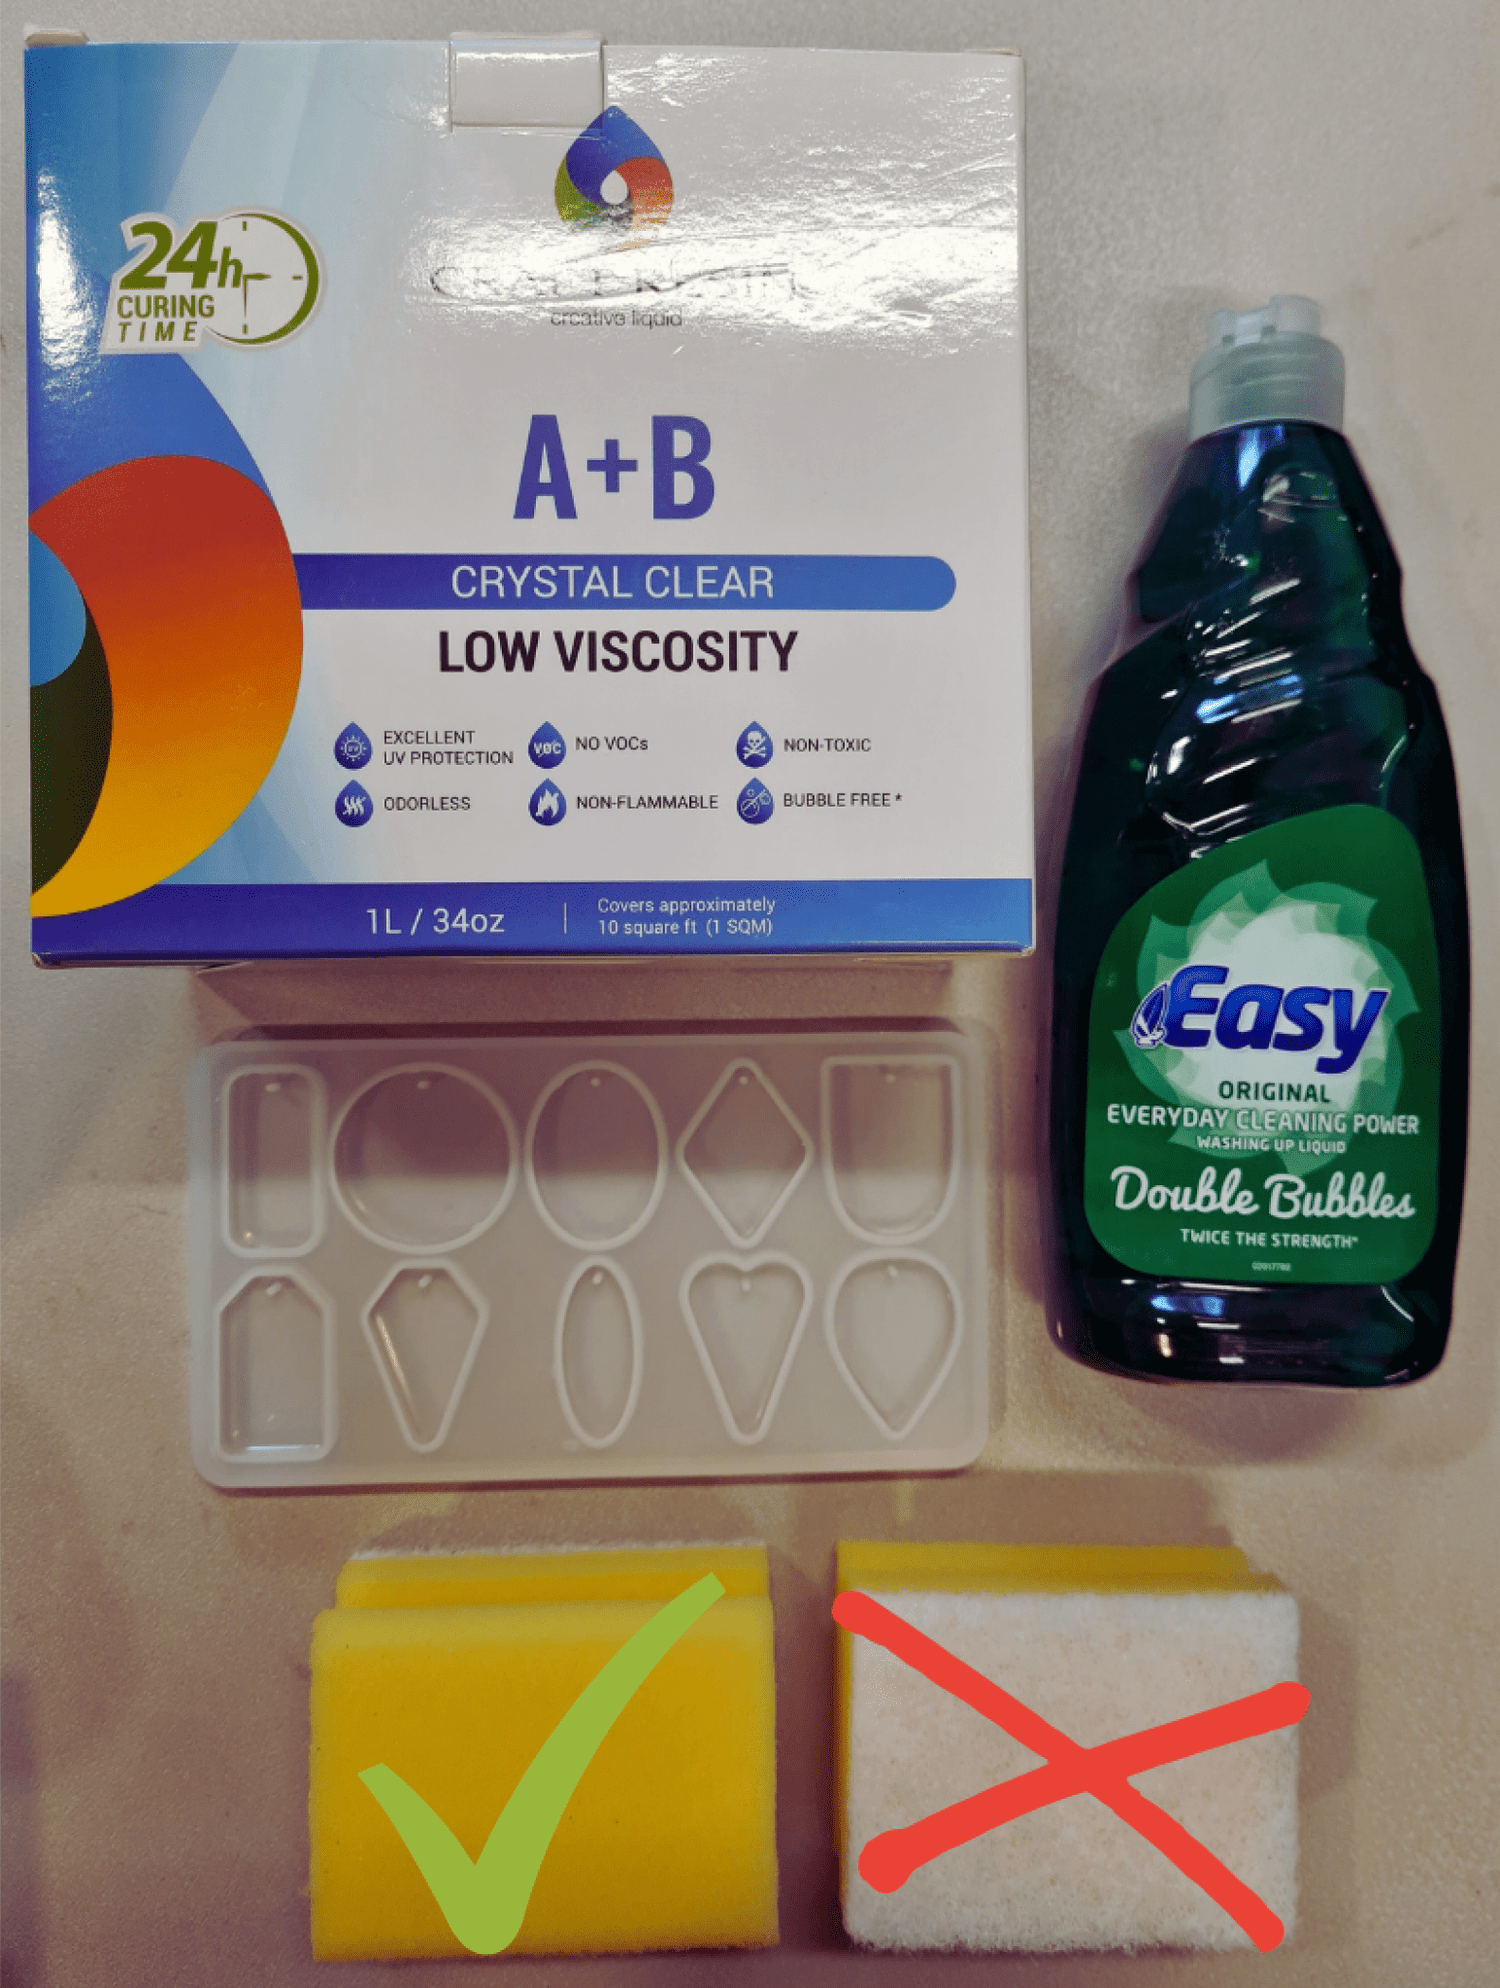
All you really need for cleaning molds is warm soapy water, you can use traditional washing up liquid for this task. Simply fill up a bowl with the warm soapy water and leave the molds in it to soak for a short while, about 15 minutes will be plenty of time for this.
Once they have soaked for a little while you can use a soft sponge to clean off the resin from the molds while they’re still in the water. If you are using a sponge with a course side, please make sure you don’t use this side as it will scrape and damage the molds.
Once they are cleaned you can rinse the soap bubbles off the molds and then place them to the side on a clean cloth to enable them to air dry naturally. If you use a cloth to dry them, fibres from the cloth could get on them and then get into your next resin project. To stop getting any particles on them at this stage you could cover them with kitchen roll.

How to store your molds after use:
Once completely dry you can then think about how you’re going to store them. What we like to do is give them a spray of silicone release spray, then put these to the side to once again dry. This simple step can really help to preserve your molds and help extend their life span.
What you then want to do is get something like sandwich bags, or ziplock bags to store your molds in. Simply put the dry molds into these, one at a time, and squeeze out as much air as possible before sealing.
Try to make sure the molds are stored flat and not squashed at all, when they are stored and left in distorted ways they can then take on this shape and stay like that forever. You can then place them onto a shelf neatly and they can be stored like that for a very long time.

We hope this helps you keep your molds going strong for longer and reduces the amount of replacement molds you need to purchase along your resin journey.
If you have any of your own tips that you would like to share on this subject, please pop them in the comments below this blog, we’d love to hear from you.
We don’t sell molds at Craft Resin, however all of the items mentioned in this blog can easily be purchased from other stores online.
Team Craft Resin

