


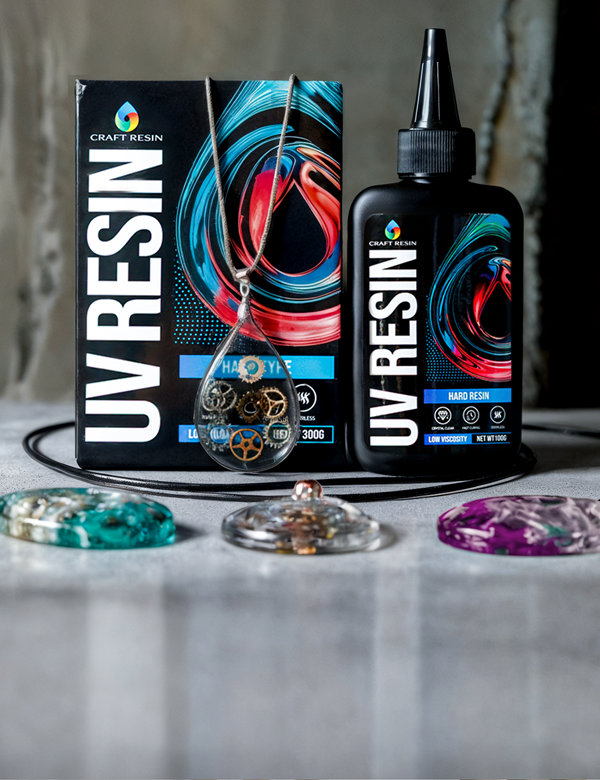
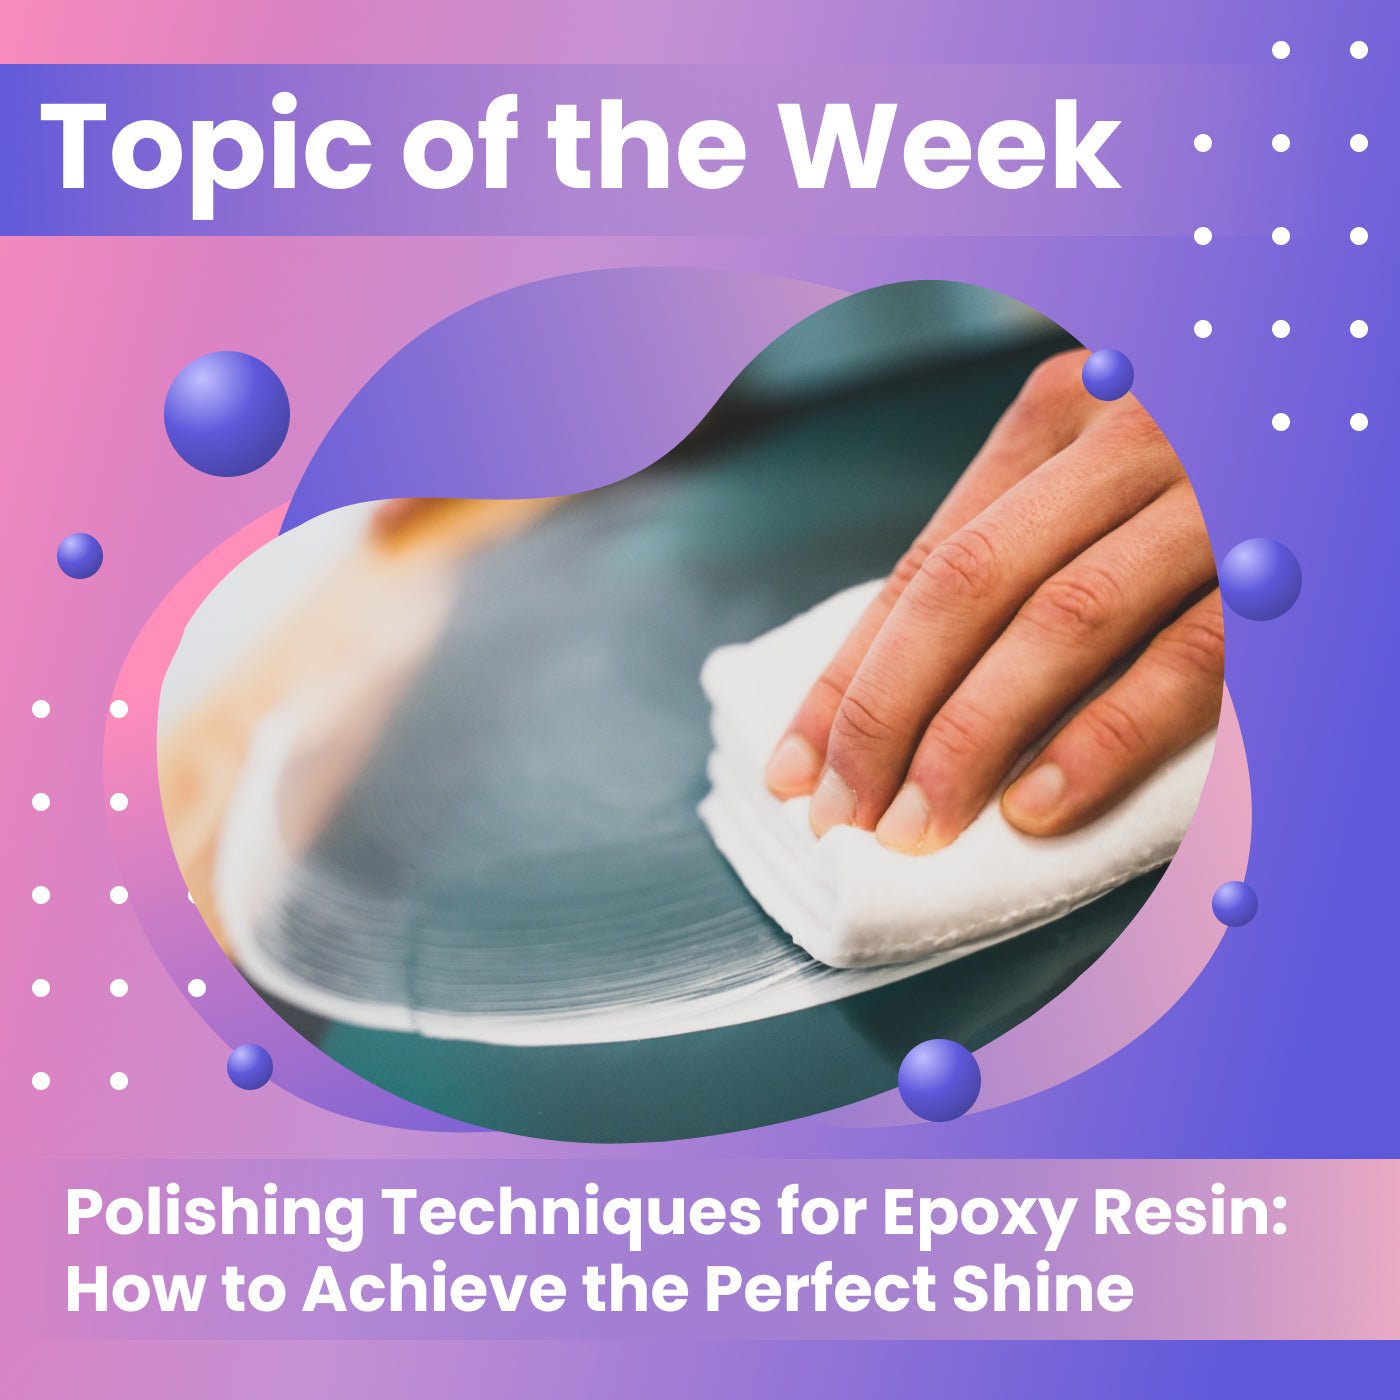
Achieving flawless, glossy finish requires proper polishing techniques. In this article, we'll dive into the technical aspects of polishing epoxy resin surfaces and provide specific recommendations for materials and tools to help you achieve the perfect shine.
We captured the whole process in a short video.
The first stage is proper surface preparation:
- Ensure complete curing of the epoxy resin: Before starting the polishing process, make sure that your epoxy resin piece is fully cured. This will ensure more effective and uniform polishing. Be careful, it takes a minimum of 24 hours for the resin to fully cure. Read the manufacturer's instructions carefully.
- Clean the surface from dust and debris: Use a mild detergent and water to thoroughly clean the surface from dust, debris, and other contaminants. Avoid using aggressive chemicals that could damage the epoxy surface.
- Wipe the surface with isopropyl alcohol: Once the surface is dry, wipe it down using isopropyl alcohol. This will help remove any remaining oil, grease, or other residues that may be present after cleaning.
- Inspect the surface for uniformity and integrity: After cleaning and wiping the surface, carefully inspect it for any imperfections or damage. If any defects are found, address them before starting the polishing process.
- Prepare necessary materials and tools: Gather all the necessary materials and tools for polishing, including sandpaper of various grits, polishing compounds, a polishing machine or hand tools, and protective gear for hands and eyes.
Sanding Technique
You will need sandpaper with a grit of about 120 - 160.
- Check Progress: Periodically stop and wipe away any debris or residue from the surface to assess the progress of the sanding. This will help you determine if any areas need additional attention or if you can move on to finer grit sandpaper.
- Repeat as Necessary: Depending on the condition of the surface and the desired level of smoothness, you may need to repeat the wet sanding process with progressively higher grit sandpaper. Each successive pass will further refine the surface and remove any remaining imperfections.
- Once you are satisfied with the smoothness of the surface, thoroughly rinse away any remaining debris or residue with clean water. Allow the surface to dry completely before proceeding to the next step in the polishing process.
By following these steps, sanding can help you achieve a smooth and uniform finish on epoxy resin surfaces, ensuring professional-quality results.
For a large amount of work, you can use an electric sander. Watch the video by @phat.slabs to see how it's done
After that, you can move on to pouring the finish layer. We have made a detailed video instruction.
Using Craft Resin alone is enough to create a perfect finish layer. But you can re-sand the surface and do polishes.
Wet Sanding (1000 to 3000 grit):
- Wet sand with 1000-grit sandpaper. Spray water on the surface to keep it wet and sand in a circular motion. This helps to avoid clogging the sandpaper and reduces dust.
- Move to 1500-grit and continue wet sanding. This will further smooth the surface and remove any remaining fine scratches.
- Follow with 2000-grit, keeping the surface wet and sanding gently. The epoxy should now be quite smooth.
- Finish with 3000-grit for the final sanding pass. This will give you a very smooth surface, ready for polishing.
Polishing:
Use a rotary polisher or buffer with a foam or wool pad attachment.
When polishing resin, both foam and wool pads can be effective, but they serve slightly different purposes. Here's how they compare:
- Foam Pads: Foam pads are generally softer and more flexible compared to wool pads. They are excellent for applying polishing compounds and achieving a high-gloss finish on resin surfaces. Foam pads come in various densities, with softer pads being ideal for final polishing stages to remove fine scratches and swirl marks.
- Wool Pads: Wool pads are more aggressive and can effectively remove deeper scratches and imperfections from resin surfaces. They provide greater cutting power compared to foam pads, making them suitable for initial polishing stages or for heavily scratched surfaces. However, wool pads may leave behind faint swirl marks, so it's important to follow up with a foam pad for final polishing.
Medium Polishing Compound:
- Apply a medium polishing compound to a foam or microfiber polishing pad. Attach the pad to a buffing machine or hand-held polisher.
- Buff the surface in a slow, circular motion. Apply light to moderate pressure. Work in small sections, ensuring even coverage.
- Wipe off the excess compound with a clean, lint-free cloth.
Fine Polishing Compound:
-
Switch to a fine polishing compound and a new, clean polishing pad. - Buff the surface again, using the same slow, circular motion. This step will bring out the shine and remove any remaining micro-scratches.
- Wipe the surface clean with a lint-free cloth to remove any residue.
Final Inspection and Cleaning:
- Inspect the surface for any areas that may need additional polishing. Repeat the fine polishing step if necessary.
- Clean the table with a damp, lint-free cloth to remove any remaining polishing compound.

By following these steps, you'll achieve a beautifully smooth and polished final layer on your epoxy river table. Ultimately, the best polishing compound for resin will depend on factors such as the type of resin, the level of shine desired, and personal preference. It's a good idea to experiment with different compounds to find the one that works best for your specific application.
Absolutely! While we've provided a schematic overview of the polishing process, it's crucial to understand that achieving the desired result often comes from repeated attempts and gaining experience. It's all about trial and error, honing your skills, and learning from each attempt to improve.
I'd highly recommend checking out Craft Resin's YouTube channel for insightful videos on epoxy resin crafting techniques. Their videos not only provide step-by-step guides but also offer valuable tips, tricks, and troubleshooting advice that can help you navigate through the polishing process and enhance your skills. Dive into their tutorials, experiment with different techniques, and don't be afraid to explore and innovate. Remember, every attempt brings you one step closer to mastering the art of resin crafting!

