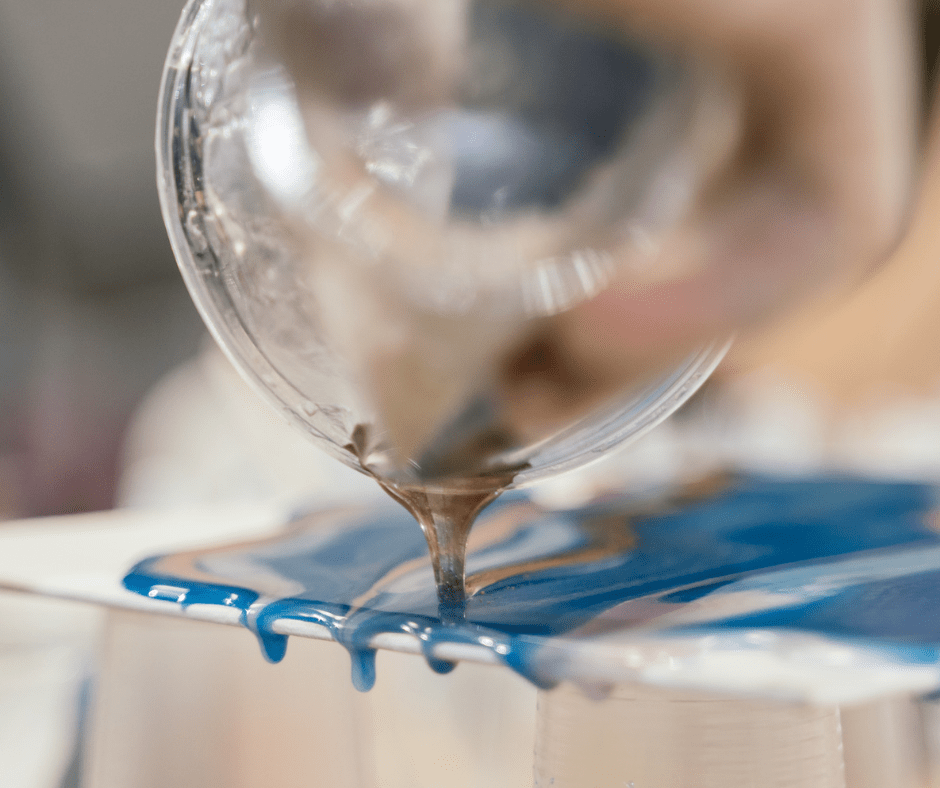
When you're working with epoxy resin different issues can occur. Epoxy resin is a fluid substance and certain factors in your workspace and certain techniques need to be followed and controlled in order for your work to turn out perfect time and time again.
If you encounter issues like lines and streaks in your work, first of all don't panic! Many issues that occur in epoxy resin creations can be fixed, and having issues is all part of the learning curve.

It helps if you understand why lines and streaks can occur, so we'll go through some of the main ways below and then we'll talk about how you can fix them if they do occur.
1 - You haven't used the resin mix quickly enough.
2 - The surface you poured the resin mix onto isn't flat/even.
3 - You've moved your work during the curing phase.
4 - You haven't mixed your resin and hardener for long enough.
5 - You've layered incorrectly.
How to fix or avoid these issues happening again:
1 - Lines or streaks in your work can usually happen when you haven't used the resin mix quick enough, and then when you have applied it it doesn't properly self level. To avoid this make sure you apply the epoxy resin within the pot life time which is normally about 40-50 minutes. If you try to spread it after this time it can leave textural lines in it.
2 - Ensure that the surface you are pouring the epoxy resin onto is completely flat, any bumps or lines below the artwork/mold will show in your finished work.
3 - Avoid moving your work during the curing phase, try to pour the resin mix in the area that you will then be leaving it to cure to avoid any lines or uneven layers appearing.
With the above three issues you might be able to remove or even out the lines at least. To do this you'll simply need your resin project to fully cure, and then sand the project down getting into all the grooves, and then apply another layer of resin mix on top which will self level and fill in the groves the lines have left.

4 - When you mix the resin and hardener together you will see streaks appearing in your resin mix, if you haven't added any colour and if your mixing container is clear. You need to make sure that you mix your resin and hardener for at least 3 minutes, but longer still if the streaks are still visible.
Mix until the streaks are completely gone, which can vary time wise depending on how much resin and hardener you are mixing together. It may help to mix the two without colour till these streaks are gone and then add any colourant towards the end if using colours.
It may also help to warm your resin and hardener in there bottles before mixing together because the lines can take longer to disappear if the resin/hardener is too cold, being too cold can also make it look cloudy too.
To do this leave the bottles to warm for 10-15 minutes in a sink full of warm water. Make sure the bottles are kept done up and that the water doesn’t go past the level of the Craft Resin label.

5 - If you have layered incorrectly then you won't be able to remove these lines as they have been cast into the epoxy resin project. The only thing you can do in that instance is to learn how to correctly layer so that it doesn't happen again in future projects.
There are two ways in which you can add layers:
1 - Wait between 3-5 hours and pour another layer straight over the top of your first. Remove any bubbles from this new layer as you did your first, then cover to protect it and leave it to cure.
Or...
2 - Wait till your first layer has fully cured, then sand your project down with a sandpaper of between 80-120 grit, wipe off any sanding residue, if you have used a damp cloth make sure your work is fully dried, then add another layer to your project.
Your project will look scuffed and a bit messy if you choose the sanding option, but don't worry the marks will disappear once you pour your resin mix over the top.
You can repeat these steps as many times as you would like to achieve your desired look. However please do increase your curing times with the more layers you add.


